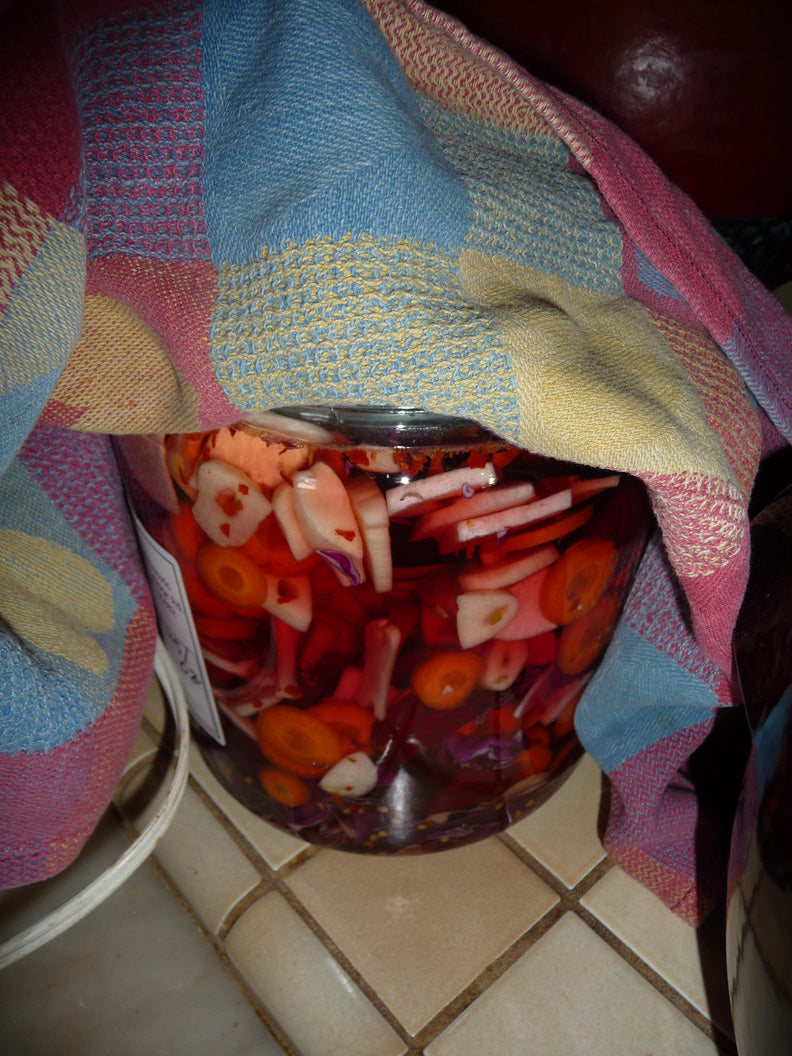
Step 2: Find a glass or ceramic crock to put the cut up veggies in. (You can find great glass crocks at Salvation Army. Ceramic crocks can be gotten at some hardware or lawn/garden stores.) You can also find crocks online. 
here is a photo of what the glass crock looks like with all the lovely cut up veggies. Isn't it gorgeous?! 
Step 3: now is the time to make the brine. Options: You can make the brine from a number of ways: a) take salt and add with warm water (1 rounded tsp per cup of water) b) buy a culture starter and add to the veggies c) take some of the veggies and blend with some water to make a watery brine and add to veggies. I make a brine using salt and water. For a one-gallon crock, I typically use about 8 cups of water and 8 tsp of salt. The main idea is that you want to cover the veggies so that there is about 1 inch of water over them.
this is what the brine looks like!
Step 4: add the brine to the crock of veggies. add garlic, hot pepper, ginger if you like. Step 5: Weigh down the veggies with bowls or plates.
Weigh down the veggies with small bowls in the crock.
Step 6: Take a clean kitchen cloth and cover the veggies.nighty-night veggies!
Step 7: let the veggies sit and let the fermentation begin!
NOTE: The time of year makes a big difference on how long it takes to culture veggies. If it is summer, it can take 2-3 days to have a wild fermentation. In the winter, it can take longer. You can try the veggies every couple days to see if it tastes tangy. If you wait too long, well, you'll have a science experiment. (You'll know it!)
Step 8: jar up the kim chee!
I'll be back to show you how to jar up your yummy cultured veggies. YU!


